Thursday, May 5, 2011

New and Improved Website

OK, so I am really excited that the website is all new and improved!

Come check it out!
 i LOVE it!

Wednesday, January 19, 2011

Valentine's Day Tutorial for a Quick and Easy Wreath


The kids and I threw together this very simple wreath in no time flat.


I have to be totally honest and let you know that 
I got this sock wreath idea right here.
Becca made a lovely sock wreath:  it is totally cute!
I just kinda took her idea and "valentined" it...
Thanks for sharing Becca! 


Materials:

  • 4 socks (two pairs)
  • 1 foam wreath
  • serrated knife
  • scissors
  • needle and thread or sewing machine 


We're excited to get started!
 

Turn your socks inside out and pin the heel together flat.
Sew across it to eliminate the heel entirely and turn the sock into a tube sock....


Trim seam to get rid of bulkiness

Now cut off toes.
Not rocket science: no need to cut exactly straight.


Do all this to all four socks.
All your socks now are straight tubes with openings on both ends.


If you think the boy-child isn't helping, think again:  he is the photographer!


Let mommy cut the wreath.
I used my trusty ol' serrated bread-knife:  Worked like a champ!


Slide on the tube-socks, one at a time.


Arrange and scrunch the socks how you like them.
They stay put really well, but if you'd like you could glue or pin them into place.  


How do you like the Valentine's day wreath next to the Christmas gingerbread house....????
heeheeheehee  :D

Gotta love January! 


Make these with your kids!  It was soooo much fun and VERY inexpensive!
I bought the socks at the dollar store and the wreath cost next to nothing at the craft store.

Enjoy!  
<3
Crystelle

    Monday, September 13, 2010

    Very Easy, Very Fast, Very Cute Shirt

    Good Morning Bloggy Friends...
    As per popular request, here are the instructions on how to make that cute shirt that I made for my daughter's birthday.
    No worries.  It was about the easiest shirt I've ever made.  Cute too, I thought....
    Any way, here we gooooo:
    I just started out with a purchased T-shirt from a local retailer {who shall remain name-less....}
    I cut off the shirt {which happens to be size 10-12 kids} straight across 4 inches under the arm-pit {for lack of a better term....}
    Easy to Sew Cute Shirt

    Then I started adding strips....
    Strip 1: (2) 3 x 16
    Strip 2:  (2) 3 x 20
    Strip 3: (2) 5 x 20
    Strip 4: (2) 7 x 24
    The seams are just to the edge of the foot.
    Cute Shirt on Retro Fridge
    Isn't the umbrella fabric to die for...?????
    And I am also digging my "new" old fridge....
    One of my most prized possessions....
    Not that material possessions are very important.... of course...Fishy Wishy
    My daughter has been very creative.  She put this fish on a clip-board so she could haul it with her wherever we went and she could work on it...
    Isn't it fun!
    And I finally figured out that the drum that was laying back behind the chicken coop made a nice side table for my bench...
    Love the color. 
    September-Petunias
    Fall flowers are the best.  September is one of my favorite times of the year.  The weather is mild  The flowers are blooming...
    smells of harvest in the air....
    and that's my story for today...
    A Monday in September

    Friday, July 23, 2010

    Sewing with Burlap Potato Sacks

    Aloha!!!  Friends!!!
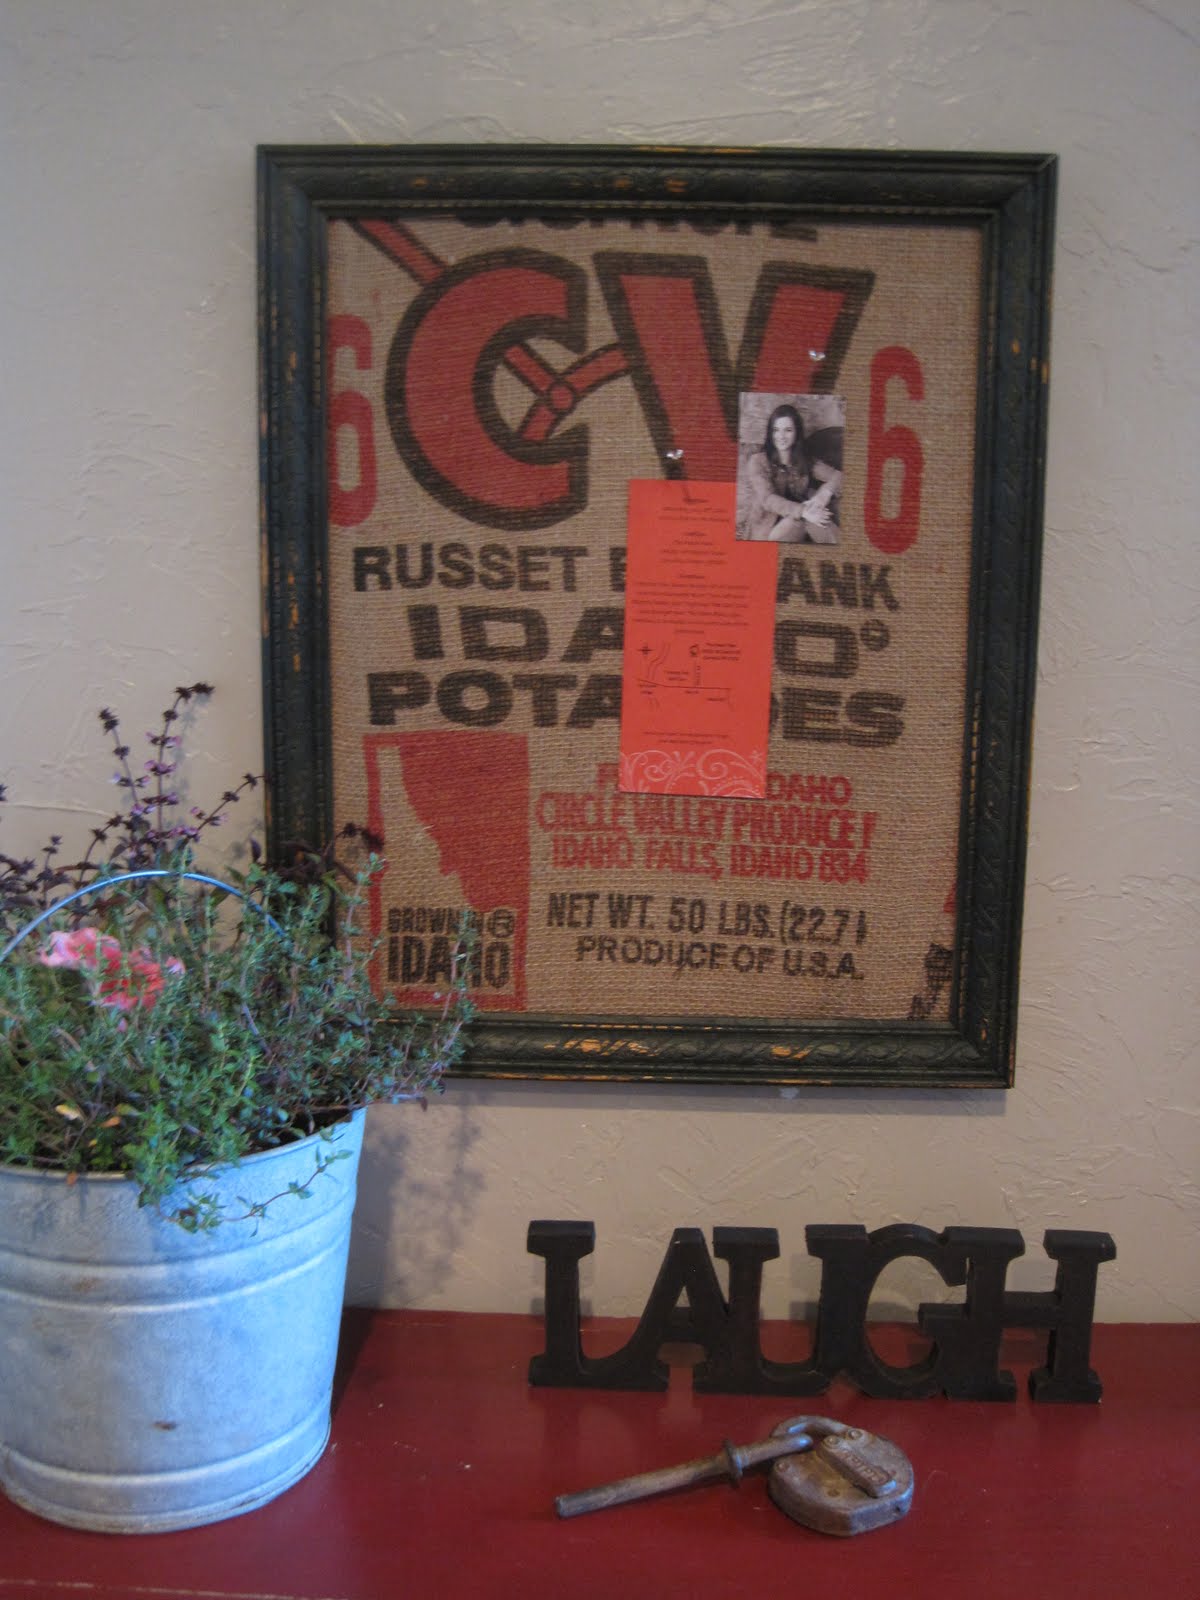
    Sewing with potato pockets is such FUN!!! You can feel good about recycling and being GREEN!!!
    But..... unfortunately, like everything worth while, it does pose some challenges.....


    The school of trial and error has taught me that because potato sack jute fibers are woven loosely, {especially compared to the burlap fabric that comes on rolls at the fabric stores} it is somewhat more delicate. Potato sack burlap fabric just does not hold up quite as well, as say.... leather.......
    However, sewing with potato sacks is still worth the effort! The end result is SO FUN!!!! You will get TONS of compliments!


    So have no fear, a solution is near!

    A document is available that tells you all the tips and tricks YOU need to know to have your very cute sewing project stand up to every day wear and tear,and look great for a LOOOOOOOOONG time!!!!!!

    The name of the PDF file is

    Potato Sack Preparation Tricks and Tips

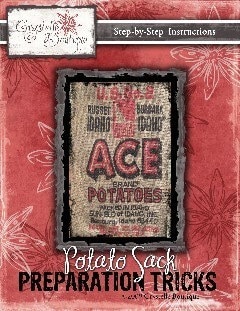
    It is available for FREE to anyone 
    Just follow this link to my official website, and download the file at the bottom of the post....


    Happy Burlap Sewing!
    Return to CrystelleBoutique

    Tuesday, July 13, 2010

    Make a Selvage Bag Instructions

    ¡Hola! ¿Cómo es usted? 
    The Aerika Selvage Edge Bag is a REAL HIT!!!!
    How do you like it...??? 
    Wanna make your own Selvage Edge Purse...????
    YOU TOTALLY CAN DO IT!!!
    It is easy and FUN fun FUN!!!!
    Here we go:

    Some simple instructions on how to make your own selvage bag....

    Isn't it so fun to make something out of something we would normally discard? I think so!
    • Save your selvage edges {or just cut them off the collection of fabrics you already have}

    • Cut 1/2 inch into the print of the fabric. {some people do more, I like to be consistent and do 1/2 inch each time}

    • Cut your purse pattern pieces out of white cotton
    • {use the FREE Aerika Pattern, available from CrystelleBoutique....!!!!,or your own favorite pattern}
    • Draw parallel lines on the cotton to keep you going straight as you go along
    •  Place one strip of selvage edge on at a time, and sew it in place
      • Be sure to overlap the unfinished edge of the previous selvage edge with the finished edge of the current one
      Not bad, is it?
      You can SO do this!!!!

      • I really love the way it turns out. See another view right here
      • This is a very green, reused, recycled, re-purposed {all that good stuff..... :) } project for you and your friends and kids to do
      • I used the free Aerika Purse Pattern {a Crystelle Boutique original creation} to make this selvage edge bag....
      The Poppie Flower is WAY cute too!!!!  Instructions on how to make it are right here


      Have fun cutting and sewing!
      :) Crystelle

      Return to CrystelleBoutique

      How to Make your Own Easy Needle Threader

      I am so excited about this:
      A friend of mine gave me a home-made needle threader this weekend. It works great, and is SOOOOOOOO easy to make!

      Homemade Needle Threader

      You could make one right now from items you have laying around...!
      Take some fish-line

      Make Your Own Needle Threader

      Tie it in a loop.

      Easy to Make Needle Threader

      Put a ribbon on it (or piece of yarn), so you won't loose it!

      Needle Threader

      DONE!!!!

      Isn't it way awesome...?????

      (sorry, the pictures are not fabulous, but I was trying to show you what it looked like. Hope it makes sense....!!! :)
      Crystelle

      Return to CrystelleBoutique


      Tuesday, June 29, 2010

      How to Make a Potato Sack Covered Bulletin Board

      Directions to make a potato sack covered bulletin board such as this one are simple and easy to follow. Just follow THIS LINK to download a free PDF document with the detailed instructions.

      This is a great way to show your love for things rural and rustic.
      Not to mention how great is it to recycle an old frame!

      Another option to MAKING a potato sack bulletin board is to WIN ONE!!!!!
      Go to THIS LINK to do so!
      It's a FUN project, and it will llok GREAT in YOUR home!
      Enjoy! :-)
      Crystelle
      Return to CrystelleBoutique